


Zulu War Series
Left to guard a river crossing, stores, and the sick, a small garrison of British troops found themselves standing between the Zulu nation and Natal. The date was January 22, 1879. The place, Rorke's Drift.
Lieutenant Chard of the Royal Engineers had been repairing damage to nearby ponts on the Buffalo River when survivors from the massacre of Lord Chelmsford's British No.3 Column at Isandhlwana straggled by. He immediately moved to the Drift where he took command of the garrison along with B Company, 2nd Battalion, 24th Foot (South Wales Borderers) under Lieutenant Bromhead. On the suggestion of Acting Commissary Dalton, the small force was set to work constructing mealie bag ramparts linking the stone store and hospital 35 yards apart.
Initially he was aided by 100 men of the Natal Native Company, but when the Zulu Impi was sighted late in the afternoon they fled with their European NCOs. Chard was left with 140 men of whom only 81 were fit members of B Company. The sick in hospital, that were capable, were given a rifle. Realising his perimeter was too large, Chard ordered the construction of a wall between the hospital and the store. This was made from biscuit boxes.
The defenders were up against three units of Zulu warriors thirsting for action. Under the command of Dabulamanzi they had been held in reserve at Isandhlwana. Skirting large domed Oscarberg the uThulwana and uDloko swept around the west side of the hospital, while the iNdluyengwe closed in at the northern defences, and the assault began. On and on they came, the Martini-Henry rifles taking a heavy toll. Several times the Zulu climbed over the ramparts only to be repulsed by a bayonet charge led by Bromhead.
From the terraces on the Oscarberg the Zulu snipers were beginning to find their mark. At 6 p.m. Chard ordered a withdrawal from the yard to positions behind the biscuit box wall. The men in the hospital were ow completely unsupported. The Zulus had captured the verandah and were now battering down the end door. The defenders retreated, cutting holes through the earth walls to move from room to room. With the thatch roof aflame, they smashed a window in the end nearest the store and passed out the sick and injured who had survived. In making the 100 feet across the yard, Private Hook bodily carried one of the injured. Under the cover of darkness, the Zulu now shifted their attack to the storehouse.
Still the Zulu came on. Ammunition was handed around by Reverend Smith while Surgeon-Major Reynolds did his best to operate on the wounded. Sporadic attacks went on throughout the night. Around 4 a.m. silence descended and as the dawn arrived the defenders found themselves surrounded by piles of Zulu dead.
Suddenly at 7 a.m. the Impi reappeared round the Oscarberg. They held for about an hour out of rifle range before slowly drifting away. The battle of Rorke's Drift was over. Of the 4,000 men, Dabulamanzi had lost over 400, Chard only 17. For their valour, the British Government awarded 11 Victoria Crosses to the brave defenders of Rorke's Drift.
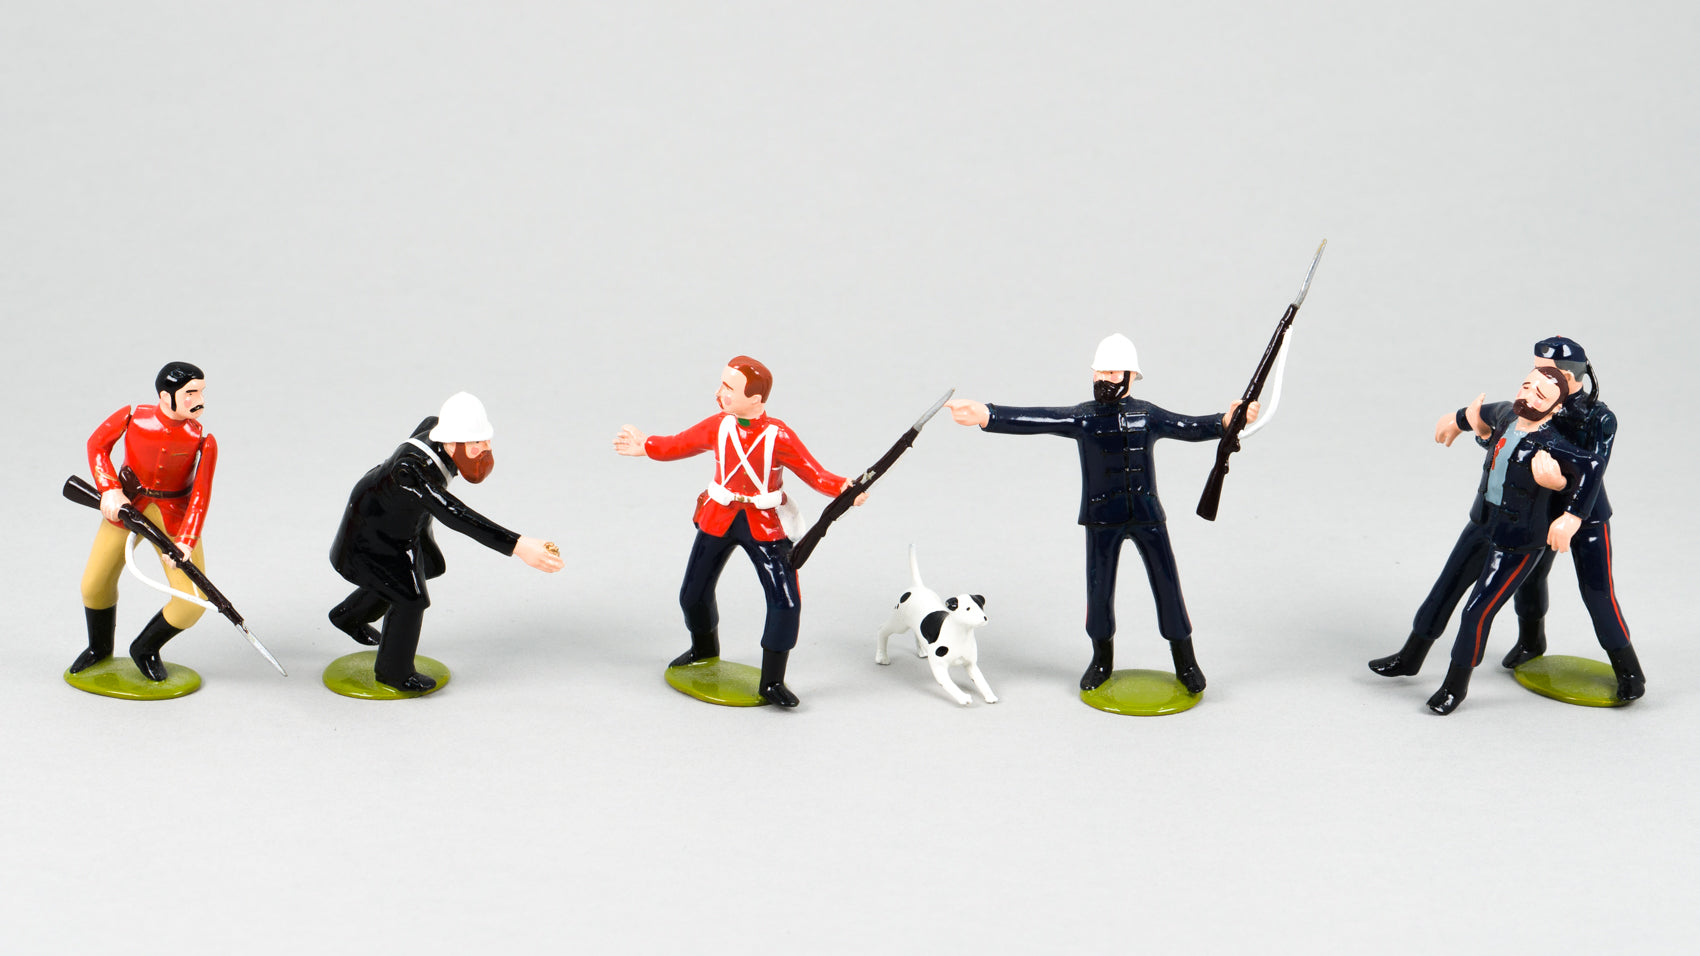
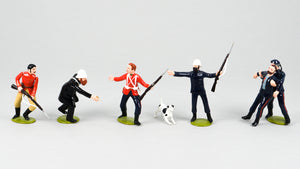
The personality figures in this Box No.1 are:
Lieutenant John Rouse Merriott Chard V.C., armed with rifle and directing the defense. He wears the Royal Engineers officers' patrol jacket.
Lieutenant Gonville Bromhead V.C., armed with a rifle and leading a bayonet charge. He wears the Indian Army pattern frock coat and bedford cord breeches.
Surgeon-Major James Henry Reynolds V.C., wears the glengarry hat and in his arms supports the wounded figure of
Acting Commissariat officer James Langley Dalton V.C. who wears the Infantry patrol jacket. The terrier dog Pip, was with him when tended by Surgeon-Major Reynolds.
Private Henry Cook V.C., is depicted at the defenses. He is reaching for cartridges from the
Reverend George Smith (civilian) clad in his ecclesiastical frock coat, with haversack of ammunition.
Choose options